Friday, August 30, 2013

chicken philly sandwiches

I love a good Philadelphia Sandwich- just known as a Philly where I come from. Traditionally, this would come in beef only, and the ONLY suitable cheese is Cheese Wiz, and maybe sometimes American. In usual fashion, I made my version with chicken. However, I keep the American cheese.
 I'm a firm believer that a good Philly sandwich needs good caramelized onions and peppers. Slice them thin and cook them in butter for the good flavor.
While the onions and peppers are going, slice up the chicken. Raw chicken, sliced very thing with a very sharp knife.
That's what you're looking for. The chicken will be in good size pieces for chewing.
When the onions and pepper look a little something like this, remove them from the pan and drop in another pat of butter. Turn up the heat a little and add in the chicken.
Season the chicken liberally with salt, pepper and steak seasoning. Keep it moving so that it all cooks thoroughly.
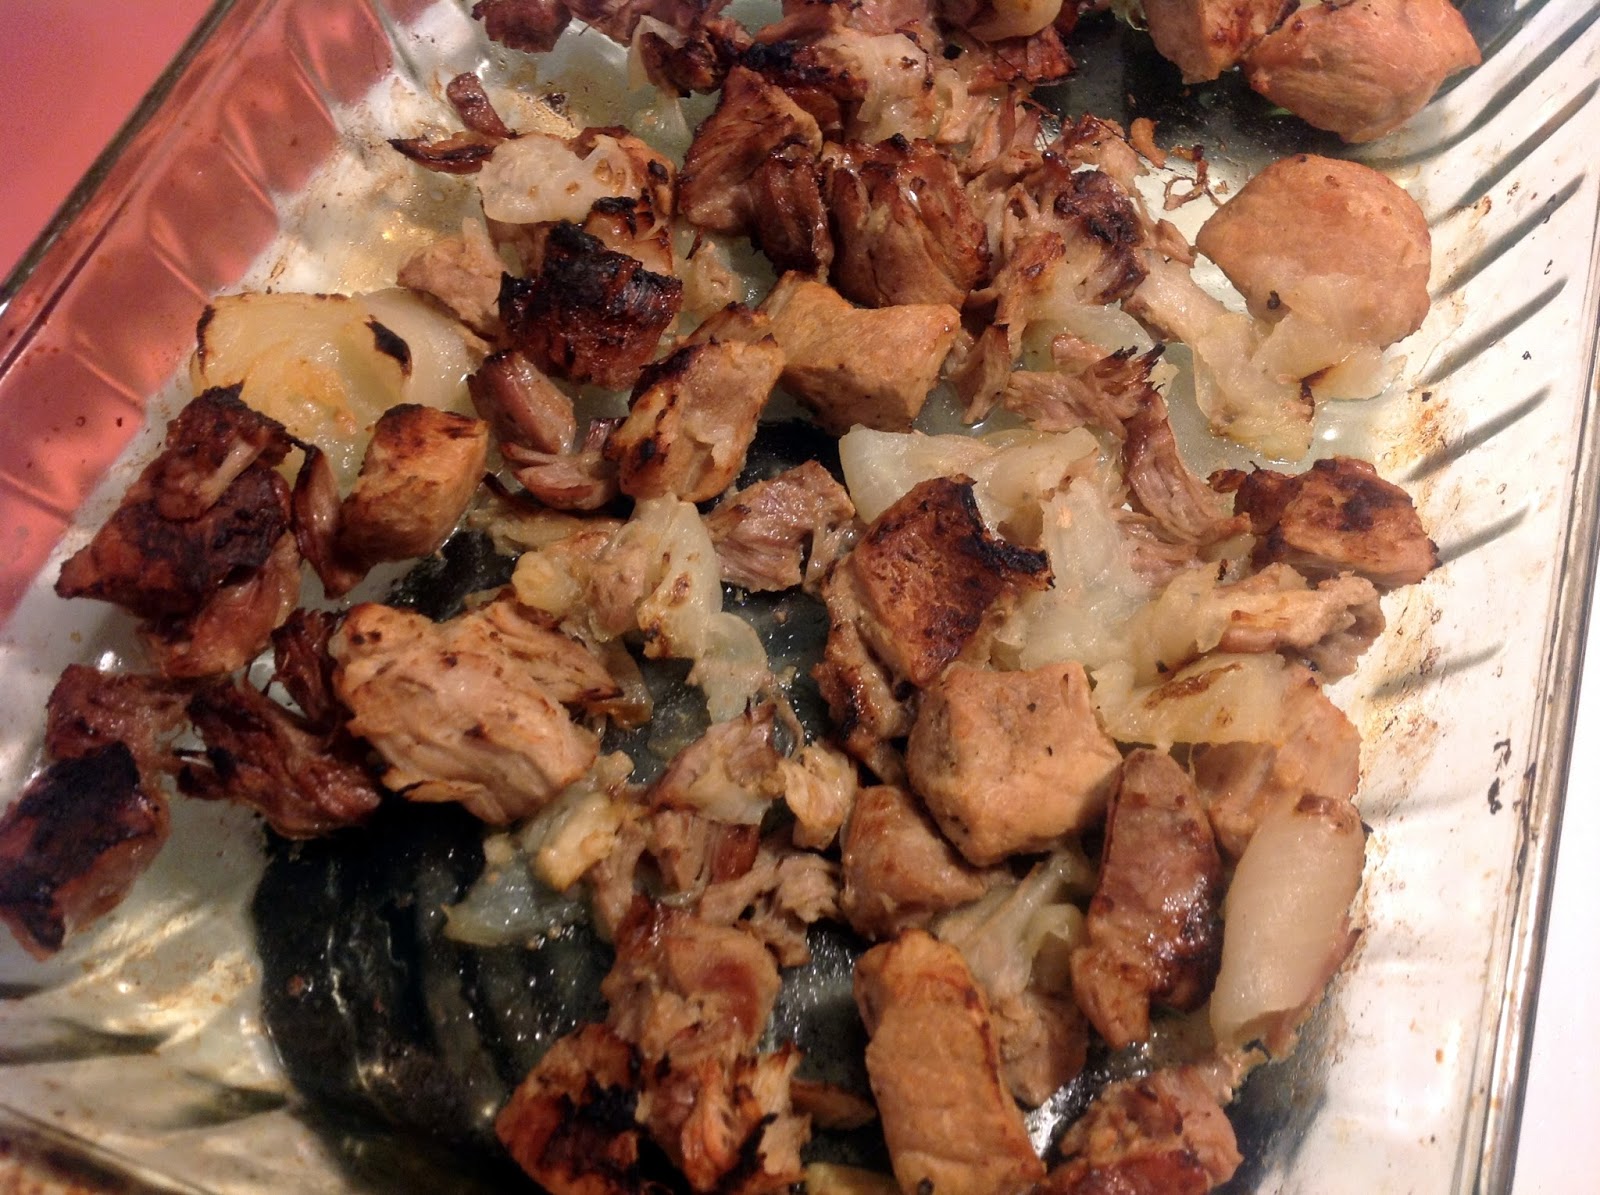
This part is essential! If you don't have a metal spatula, you need one! When cooks in Philadelphia make their sandwiches on the flat top in a restaurant, they use their spatulas to tenderize and chop up the meat. We're doing the same thing here. Use the spatula to chop through the meat and break it into smaller bits.
Next, stir in the cooked peppers and onions, along with a few dashes of Worcestershire sauce.
The last step is to lay on the cheese. Melt the cheese for a couple of minutes and then lay it on!
A couple of toasted buns are the perfect vessel for this deliciousness!
Chicken Philly Sandwiches
3 Tablespoons butter, split
1 large sweet onion, sliced
1 large green bell pepper, sliced
3 boneless skinless chicken breasts, sliced
2 Tablespoons steak seasoning, split
4 slices American cheese
Salt and pepper, to taste
Long deli rolls

Heat 2 Tablespoons of butter in large skillet. Add in onions and peppers, along with 1 Tablespoon of steak seasoning and salt and pepper. Cook these on low heat for 10 to 12 minutes, or until fully caramelized. Remove from pan. Turn heat to medium high and add additional tablespoon of butter. Add in sliced chicken breast, along with salt and pepper and remaining steak seasoning. Cook until almost no pink remains, and then chop and tenderize with a metal spatula. Continue to cook until no pink remains and then lay slices of cheese on top to melt. While cheese is melting, gently toast the deli rolls under the oven broiler. Load each roll with the melted cheese and chicken and enjoy!

Thursday, August 29, 2013

oven baked pork carnitas

So this recipe takes a little while to cook, but the prep and put together couldn't be more simple, and it's so delicious! The only drawback is the long cook time makes you sooo hungry! The smell coming from your oven will be spectacular.
This is some pork shoulder that was already pre-cut into chunks at my local grocery. I usually would suggest you use pork shoulder or pork butt, but no loin- it's too lean. Add to the pork about a cup and a half of water, bay leaves, one whole onion cut into quarters, the juice of a lime, the juice of an orange and the orange halves, 4 cloves of garlic and plenty of salt and pepper. Cover this up and say goodbye for 2 hours... at 300 degrees. You will not believe how tender this is going to be.
This is what will be greeting you 2 hours later. Pitch the bay leaves and the orange halves at this point, and remove the pork cubes. Gently, because they will be falling apart tender.
Here's the liquid you should have left. The garlic will smoosh very easily, so go ahead and do that. You can cook this liquid further in the pan you already are using...
I transferred mine into a small sauce pan. Let this come to a simmer and keep it going for about 10 minutes to reduce.
The transferred carnitas, on the other hand, are going back into the oven. Pop on the broiler and pass these into the oven to crisp up, for about 10 minutes. Make sure you turn them about half way through to get them crispy and caramelized on all sides.
Oh yes. Only one more step.
Pour the reduced cooking liquid alllllll over the carnitas. You can eat these little delights as is, over rice, in a tortilla... however you want! I don't even add cheese to the tortilla, just a little tomatilla salsa and it's good to go!
Pork Carnitas
2 lbs cubed pork butt or shoulder
1 teaspoon cumin
Salt and pepper, to taste
4 cloves garlic, peeled
1 onion, peeled and quartered
1 orange, sliced in half
1 lime, juiced
2 bay leaves
1 1/2 cup water

Preheat oven to 300 degrees. In a casserole dish with a lid, combine pork, cumin, salt and pepper, onion, lime juice, orange juice and spent halves, garlic, bay leaves and water. Cover and place in preheated oven. Cook for 2 hours, or until pork is fork tender. Remove from oven. Preheat broiler of oven to high. Remove pork from cooking liquid and place on an baking pan. Remove bay leaves and orange halves from liquid and discard. Smash garlic into liquid and transfer to a small sauce pan. Cook over medium heat to a simmer. Simmer on medium uncovered for 10 minutes to thicken. Meanwhile, place baking dish with pork under the broiler and cook on high for 10 minutes, turning halfway through to crisp all sides. Remove from oven. Pour cooking liquid over the pork. Enjoy with tortillas or rice!

Wednesday, August 28, 2013

ranch blt wraps

List this one under easy lunches. Basically a no-brainer, but still really yummy.
This is all you need! Well, minus the bacon. You need that too. But I cook mine in the oven, so it's already cooking away.
Bacon is super crispy and properly drained. All that's left is assembly. Not that there was much prep!
Warm tortillas, leaf lettuce, sliced tomato... and then bacon and ranch. That's seriously it. Enjoy it!
Ranch BLT Wraps
1 lb sliced bacon, cooked
6 taco sized flour tortillas
6 leaves of leaf lettuce
1 large tomato, sliced
Ranch dressing, as desired

Cook bacon according to package directions, or as desired. Warm tortillas in the microwave or oven and layer each tortilla with a leaf of lettuce, a slice of tomato, several slices of bacon and ranch dressing. Enjoy!

Tuesday, August 27, 2013

how to cook bacon in the oven

I think that this is the best way to cook bacon in the oven because it's almost fool proof. You also don't get splattered with bacon grease as it cooks on the stove top, and it doesn't curl up in the pan either. Start with a cold oven. Layer the bacon either on foil or parchment paper. Place this into the oven and turn the oven on to 400 degrees. Say goodbye and walk away.
If the bacon is super thin, check at 15 minute. If it's thick sliced deli bacon, check closer to 20 minutes. You know your oven better than anyone, so you'll know if 15 minutes won't be enough or will be too long. You make the call. Remove the pan from the oven, place the bacon on a paper towel to properly drain and enjoy.

Monday, August 26, 2013

baked pierogi cassarole

Frozen pierogis are a regular meal in our house. Ed doesn't like them so much because they don't have any meat in them, but I love them. As a compromise, I made this the other day and the bacon was just meat enough for him to be satisfied and I got the seal of approval.
Step one is cook the bacon. That way it's properly drained and cooled before you shovel it into your mouth.
This is definitely the next step because it takes a while. You need to melt the cream cheese into the chicken stock until it's almost completely smooth, and that takes a bit. Once that's good to go, it's time for assembly.
I wasn't kidding when I said this was made with frozen piergoi.
Pour the cream cheese sauce over the frozen pierogi.
Fresh grated mozzarella cheese- or cheddar. Whatever cheese you want to use!
20 to 25 minutes later this is what pops out. Fluffy and cheesy and begging for bacon.
There you go! This is so good. The cream cheese sauce is almost like the sour cream you dip the pierogi in and the bacon is salty and the potato pierogi are fluffy. You'll add this to the rotation.
Baked Pierogi Cassarole
Inspired by Our Table for 7.
16 oz frozen pierogi
8 oz sliced bacon, cooked and chopped
1/3 cup cream cheese, room temperature
1/2 cup chicken stock
1/2 cup shredded cheese

Preheat oven to 400 degrees. Lightly spray a 9 by 13 baking dish with cooking spray and lay pierogi in a single layer. Meanwhile, melt cream cheese into the chicken stock over medium heat in a sauce pan on the stove top. Pour this cream cheese over the frozen pierogi and top with shredded cheese. Place into the preheated oven and bake for 20-25 minutes. Garnish with chopped cooked bacon and enjoy!

Friday, August 23, 2013

steakhouse pizza

I love the Pioneer Woman. There's hardly a meal she makes that I don't want to eat almost immediately. This one was in her last cook book and this is the first time I tried it. Ed liked it quite a bit, so it's a winner in that department. I did make it a little bit differently from her recipe but not too different.
Using butter only, saute some onions low and slow for quite a while until the look like...
...this. This is what you are looking for. This will be spread on the bottom of the pie. While the onions are cooking, this gives you the opportunity to cook the steak. Just salt and pepper are all you need on the steak.
Hello, flank steak! This is a a medium-ish steak that we'll let sit for several minutes before slicing.
Nice, thin slices on a pretty good bias for easier chewing.
The sauce for the pizza is simply tomato pizza sauce mixed with about 2 tablespoons of steak sauce. I used A1.
Stretch your dough and put a nice thin layer of sauce on top.
Now a small layer of cheese and all the onions are added.
This is then topped with the rest of the cheese and (gently) tossed into the oven. The pizza should be done in about 11 minutes. Give or take.
Here's what comes out about 11 minutes later! Immediately lay the steak slices on top.
Just like this! Drizzle the top with more of that A1 steak sauce and you are almost good to go. The only thing I then added was some fresh grated romano cheese and it was delish.
Steakhouse Pizza
The biggest of kudos to The Pioneer Woman.
1 lb pizza dough (either your favorite recipe or grocery purchased)
1 lb flank steak
16 oz. grated mozzarella cheese
2 Tablespoons A1 steak sauce, plus more for drizzling
1 cup pizza sauce
1 large onion, sliced
3 Tablespoons butter
Salt and pepper
Romano cheese, fresh shaved

Preheat oven to 450 degrees. In a large skillet over medium heat, melt butter. Add onion and caramelize , low and slow for 10-12 minutes until dark brown. Meanwhile, season flank steak with salt and pepper and grill over medium heat until medium rare, about 6 minutes per side. Let rest before slicing thinly on a bias. Set aside. Prepare pizza sauce by combining 4 tablespoons A1 steak sauce and pizza sauce. Stretch out pizza dough and top with pizza sauce. Add a thin layer of mozzarella cheese and top with caramelized onions. Continue topping pizza with additional cheese and place into preheated oven. Bake in oven for 12-15 minutes or until hot, bubby and crispy brown. Immediately top hot pizza with sliced flank steak and fresh shaved romano cheese and enjoy!

Thursday, August 22, 2013

salmon and spinach dog chow

Every once and a while, I like to make a home cooked meal for the pups. This is one of the easiest and least expensive.
This is LITERALLY all you need. Just a can of salmon, frozen chopped spinach that's been defrosted and 2 eggs.
This is just a precautionary thing- I always buy boneless canned salmon, but I like to dump it into a bowl first to make sure they didn't miss any.
Step 1- pour salmon and dethawed spinach into a warm saute pan. Mix and heat through.
Step 2- whisk the eggs to smooth.
Step 3- pour the eggs into the pan and cook allll the way through!
Pour the puppy chow into the bowl you'll be serving them in and let them cool quite a bit. No burning mouths here!
This meal is puppy tested, Nora approved!
Salmon and Spinach Dog Chow
1 15 oz can boneless salmon
1 16 oz package frozen spinach, thawed
2 eggs

Heat a pan or skillet over medium. Add in boneless salmon and spinach and heat through. Meanwhile, whisk the eggs and pour them into hot pan. Stir together until eggs are cooked and remove from heat. Allow to cool before serving. Enjoy!